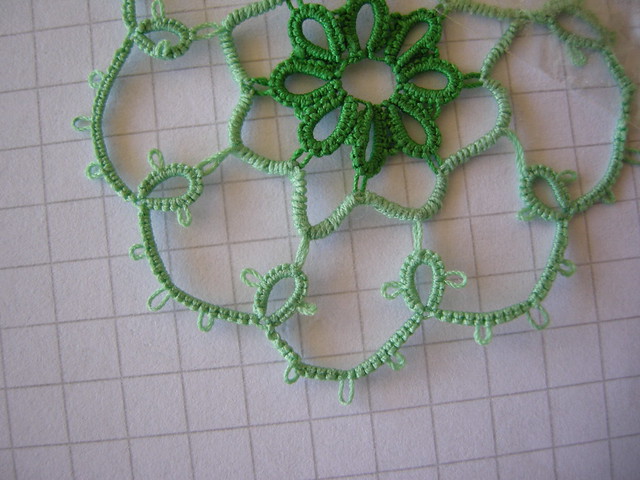
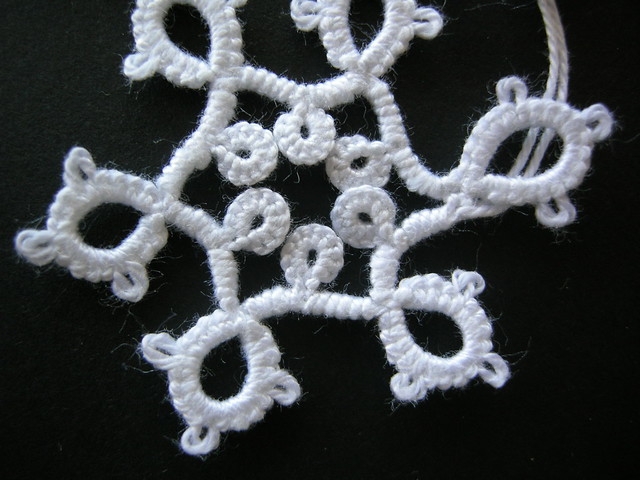
That is someone can eat flowers, except these one in cotton, that may result a bit indigestible.
Actually in our diet we have flowers, like courgettes' flowers, artichokes, chamomile, saffron, broccoli, capers... Strawberry, botanically, it isn't a proper fruit but it's called "accessory fruit" and I've learnt that blossoms are edible and leaves are edible as well! OK, that's good to know, but I'd rather wait for the sweet red pulp!
I used the magic trick to hide the tail in each yellow ring, but I left long tails at the end of green and pink rounds. Start green round joining at one yellow picot. It's better starting pink round joining the next yellow picot after that one (chosen start for green).
I hope you like my version of the flower, enjoy!
Additional tips from Muskaan about her tatted leaf (pattern is in previous post) can be found here: http://tipsaroundthehome.blogspot.com/2016/05/tat-alongs-and-common-threads.html
Another tip from my side is that instead of using a clip, to change direction, I also tried something I've learnt when I tatted the mystery doily, that is
- leave a small picot,
- first half,
- one complete ds,
- reverse work, adjust last ds and continue the chain.
That worked for me.
... And that is for the sake of curiosity, I worked directional tatting, except for the pointed chain in the leaf, where I used my way to tat it, holding the second shuttle in my right hand. Jon's way and my way are just 2 ways to make the
same knot. In my drawing I have in the right hand the SH2 shuttle, like
in direct tatting. In the left hand I have the core thread. The knot is
tied by the working thread over the core thread, exactly the same knot. It is the same movement done with thread around the needle in Puncetto lace. Not my invention. At that time, it was summer 2010, I taught myself the basis of "puncetto valsesiano" lace and discovered that I could speed my work (I'm very slow with the needle) with the help of the shuttle. I was doing a hanky. It looked to me like roll tatting, but it doesn't unravel, then I thought to use it in place of normal chains or mock rings, I didn't think to use it for changing the shape of the chain, that was Jon's clever idea. My experiments were shared at the end of 2010 in flickr:
Handmade tatting lace blog with my own patterns, tutorials, how-to and links to useful resources. It's all about my passion and my joy.
Pages
▼
Translate
====================
====================
Dear Reader,
I share here what I like and what works for me. If you've been following me, you know that I can change my mind from time to time, and feel free to comment that I'm completely wrong, you may be right. I'm not running a business. I'm not paid and have never received any compensation or facilitation for any review/brand/site here mentioned. In case one day we'll ever meet, I'll be the one offering you a cup of Italian coffee, too.
====================


Huh, clever! So puncetto is a lacemaking style (I should've asked the meaning!). Well, I used your puncetto knot as a first & 2nd half stitch by encapsulating core thread once from going under it, then by going over it. It worked to make a pointed tip.
ReplyDeleteGood tip about changing directions with the picot ! Some use a lock stitch too.
Thanks for all you share :X
Love the pattern and tips, all so very nice thank You :)
ReplyDeleteI didn't know strawberry flowers were edible. I do like your tatted version and certainly wouldn't attempt to munch it.
ReplyDeleteLove that flower pattern! It's so pretty!!! :)
ReplyDeleteThank you, Ninetta. This is such a unique pattern with lots of techniques for me to practice.
ReplyDeleteJust delightful! Thanks again for the pattern! :-)
ReplyDeletePiękny jest ten kwiat.
ReplyDelete