Translate

====================

====================
Dear Reader,
I share here what I like and what works for me. If you've been following me, you know that I can change my mind from time to time, and feel free to comment that I'm completely wrong, you may be right. I'm not running a business. I'm not paid and have never received any compensation or facilitation for any review/brand/site here mentioned. In case one day we'll ever meet, I'll be the one offering you a cup of Italian coffee, too.
====================
Showing posts with label interlockingSR. Show all posts

Tuesday, 18 August 2020

gold rope chain

That is just a line of interlocking split rings.

I've already finished one bracelet, the gold version. It is the one that I like most, it is very similar to the real gold rope chain! I've used metallic Sanbest thread, 4 strands, color gold, number 121. For the other two bracelets I'm tatting with metallic Sanbest, too.

Pattern is a line of split rings: 8ds/8ds. And that's all.

It is tatted with the third method that I showed here: https://ninettacaruso.blogspot.com/2016/06/interlocking-since-1869.html

... but in this case, I pull a loop of the shuttle1 thread (from front to back) through the previous two rings:

Then the loop is put around your hand, in the normal position to tat a split ring. The most important thing to remember is to leave the bare thread sufficient for "a playing space" (how do you call that?) between rings.

Ciao,
Ninetta
UPDATE - links to Muskaan's photo-tutorials:
Part1: https://tipsaroundthehome.blogspot.com/2020/08/locked-in-study.html
Part2: https://tipsaroundthehome.blogspot.com/2020/08/locked-in-play.html
Part3: https://tipsaroundthehome.blogspot.com/2020/08/locked-in-rope.html

Another UPDATE: I updated the old post to add this note:  The "Interlocking Split Rings" as an element in tatting was first introduced by Mrs Ruth Perry, in 1998 (different method but same result, two lines of split rings tatted at the same time, no bare thread between split rings). Read about it here: http://www.georgiaseitz.com/2004/plaits/rpcane.html)

Tuesday, 19 December 2017

don't lose the keys (and the tatting, too)

They're 20 in total and I'm glad my friends loved them, they have already been given away as xmas' gifts. The plastic key fob has been tatted around as it was a stone, like the earrings here: "international drop addiction", thread is 2 strands of Finca light gold (Hilo Metalizado, 1000mts, Presencia Hilaturas).
The little crosses inside had been part of the net embroidered last summer, there was some space left after I finished the fans and I thought to make something so the precious handmade net would not have been wasted.
This was the net before I cut the fans, bookmarks and many motifs. I still have to buy a structure for the second fan, but the lace is saved.

I finished a necklace, using the same thread Finca and light blue bugle beads, I also added some little pearl drops. I like it, especially the chain with the interlocking split rings, that gives a pretty touch to the pattern. I plan to make a second one in silver, not soon though.


There is a post of mine about how to tat the interlocking split rings, it was useful as I don't often tat this chain. I tatted using "Method 2" in my tutorial, link is here: interlocking since 1869


I thought that those earrings in previous photo didn't match and then I came up with another pair, much better in my opinion.

In the next picture there is a box that has a pincushion in the cap, I saw this in Pinterest and I couldn't resist to try it out, made from a tuna can, fabric and cardboard. This is the original source: http://1inchminisbykris.blogspot.com/2017/02/something-different-to-do-pouf-for-you.html
I used the wrong type of glue, it smell badly, just because I still haven't learnt how to use the hot glue gun. Next year...


I wish you all my heartfelt Merry Christmas and I'll take a break from the blog, till next year. I'll tat mini roses, mini bedspread and I'll also knit scarves... and I will eat panettone and torrone, of course!

Ciao,
Ninetta

Friday, 24 June 2016

interlocking since 1869

Well, not me, of course! Learn about it here www.georgiaseitz.com/2014/interlockingringshow2.html.
(UPDATE 2024 - http://web.archive.org/web/20190106201030/www.georgiaseitz.com/2014/interlockingringshow2.html )

Rings has been interlocked by tatters for a long time, but I don't know when they started to interlock split rings. In case you have any info, please be so kind to leave me a comment, it's always nice to learn a bit of  tatting history.
I first discovered interlocking rings in 2010, when I found a page at www.snowgoose.com, but it is no more available. About interlocking split rings in the way described here, like a watch chain, last year I found them by chance but then I learnt that I was re-discovering the wheel again... ha ha ha!!!

(UPDATE: The "Interlocking Split Rings" as an element in tatting was first introduced by Mrs Ruth Perry, in 1998 (different method but same result, two lines of split rings tatted at the same time, no bare thread between split rings). Read about it here: http://www.georgiaseitz.com/2004/plaits/rpcane.html) (UPDATE 2024 - http://web.archive.org/web/20190110064309/http://www.georgiaseitz.com/2004/plaits/rpcane.html)

There's really few differences between 3 methods I've learnt for tatting a soft chain mail of interlocking split rings.

They look all the same, don't they?
I used white thread in SH1 and yellow in SH2.

The method 1 in picture is showed in a video by Karen Cabrera (entrelanzaderas.blogspot.com):
frivolite-tatting lesson 78 - anillos divididos entrelazados - interlocking split rings 1
(https://youtu.be/8ESsbFva82Q)
There's a bare yellow thread pointed by the blue arrow, that's because I prefer leaving a playing space for rings in the chain, on both threads, just my choice.
The SH1 shuttle passes through the loop only one time, from back to front.

The method 2 in picture is almost the same, but rings overlap differently.

As you see, now it's visible (? - at least I see it ^_^ )  a white bare thread.
I found this is easier for me, because I almost close the loop of the first SR, then first I put around the hand the loop for the second SR and then I close the first SR, leaving the second loop in position.
In this case I passed through the loop with SH1 shuttle, two times from front to back. 

The third method is very similar to what has been showed by Kathy Niklewicz for tatting her interlocking rings, here: kathysvictoriantattedlace.blogspot.it/2013/03/interlocking-rings-made-with-shuttle.html
(The bare yellow thread again, like in method 1, but now there's also a white bare thread like in 2!)

This is my favourite method, in fact I can always forget to post the shuttle inside any loop before closing! Poor me, absent minded tatter!

Anyway, who cares the method, with a tiny metallic size 70 thread?

There are at least two other methods for the "tatted watch chain" that I love, even they are not interlocking split rings, but they looks really like that. One is a charming chainmail finger tatted by Teri Dusenbury, it is explained here: teridusenburystattletales.blogspot.it/2014/10/tatted-jewelry-eye-candy-tatbits-tigers.html .(UPDATE 2024: link not working) Another clever chainmail was tatted by Jane McLellan, using one shuttle and only rings, here: janemactats.blogspot.it/2012/12/how-to-tat-chain-maille.html .

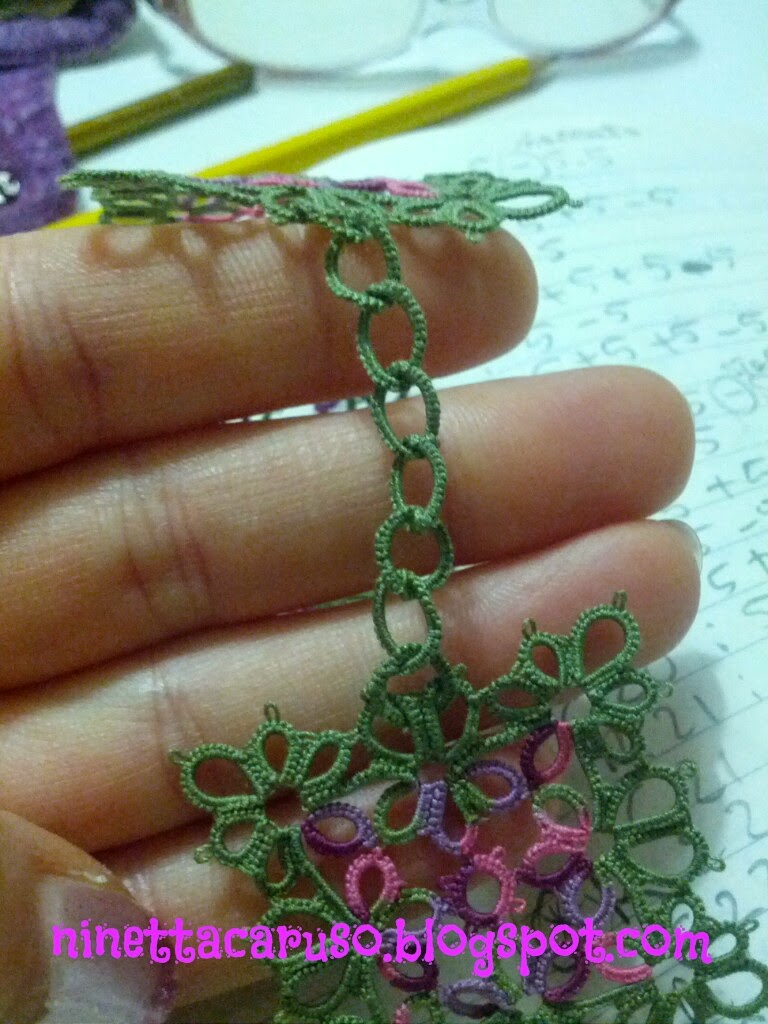
You see, I didn't do much tatting lately, but I progress with the Bosa's lace, it's almost done!

UPDATE 10 FEB 2021: Barbara Arango posted a video in Facebook showing her way to do the interlocking split chain, I hope that this link will work: 

Tuesday, 27 January 2015

soft chainmail

...That's only a line of interlocking split rings.

Thread dmc and Lizbeth, size 80.

Ciao,
Ninetta

Thank you very much for all your nice comments.

Ciao
Ninetta