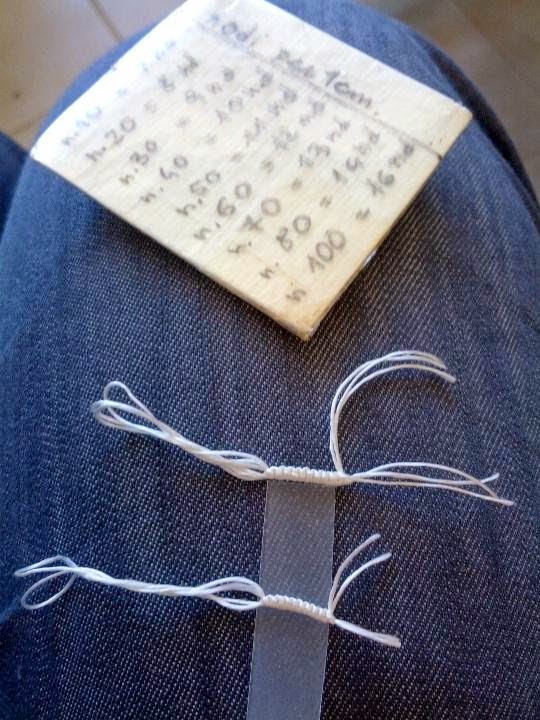
I've used the silk I bought last winter, I've talked about it from this post on.
The little square is worked with a shuttle and the ball.
I've wound 3 strands of silk together and the thickness is similar to a size 20 thread.
THE PATTERN:
Start with a ring. I started from one side, where the pattern forms the little "bow" with 2 joined rings. All rings in the pattern are 3-3-3-3-3-3. You can see that the silk thread used in the collar is thin, perhaps is size 50 or 60.
 |
| 1 |
 |
| 2 |
 |
| 3 |
You would not use a second shuttle, after the chain DO NOT Reverse Work and start the ring with the same shuttle. The outer ring is joined to the last chain in its last picot. So, the ring is 3ds, join to the last picot of previous chain, 3ds, then repeat 1 picot, 3ds for 4 times.
 |
| 4 |
 |
| 5 |
Then, refer to photo 6, Reverse Work and start the inner ring.
 |
| 6 |
 |
| 7 |
Then reverse again work and start the second chain of the corner. That chain is joined to the outer ring, so for the chain : 3ds, join to the last picot of outer ring, 3ds, then repeat 1 picot, 3ds for 4 times.
 |
| 8 |
 |
| 9 |
 |
| 10 |
The 2nd ring in the "bow" is joined to previous in its first picot. RW and start the chain, but remember to join the previous chain: make 3ds, join to last picot of last chain, continue the chain.
 |
| 11 |
 |
| 12 |
 |
| 13 |
I've hidden one end using the method of finishing with SSSR. If you don't know about it, you'll be happy to read this great tutorial by Miranda. It could be applied also to SSSC.
Usually - for chains - I hide the other end with the needle.
 |
| 14 |
So I should go to tat.
Please, let me know if I wasn't able to be clear or if I made mistakes. Thank you.
Happy tatting!
Ciao,
Ninetta
July 6th 2015:
I got to know via Pinterest the existence of a book by a Czech lady, "Frivolitky" by Milena Tomkova published in 2003, 70 pages. In one page, pinned by someone, I found the same pattern of the collar.
December 18th 2019:
Correction: in Tomkova's there is the visual pattern for the single square, not for the whole collar.
Then I found the same pattern in the star n.3 at page 43 of the book "Tatting Patterns and Designs" by Gun Blomqvist, which is a translation of a previous Swedish publication from 1967 (I have the Dover reprint edition).


 :)
:)
 :(
:(
 :))
:))
 :((
:((
 =))
=))
 =D>
=D>
 :D
:D
 :P
:P
 :-O
:-O
 :-?
:-?
 :-SS
:-SS
 :-f
:-f
 d(
d(
 :-*
:-*
 b-(
b-(
 h-(
h-(
 g-)
g-)
 5-p
5-p
 y-)
y-)
 c-)
c-)
 s-)
s-)
 d-)
d-)
 w-)
w-)
 :-h
:-h
 :X
:X
Neat square that could be useful for all sorts of things. Thanks!!
ReplyDeleteI agree with Jane! I love it and it is square and so perfect! I also like the 3 count it is fun to remember while tatting! You are so talented!
ReplyDeleteLooks wonderful!! :)
ReplyDeleteLove the motif !!! Thanks for sharing :-)
ReplyDeleteThank you for sharing. Thank you for all the notes and photographs. I have one square tatted + think it is pretty
ReplyDeleteOh! Great pictures and explanations!
ReplyDeleteThis would make a nice tablecloth!
Grazie cerchero' di copiarlo,e' molto bello
ReplyDeleteDo you have anything on Cro tatting
ReplyDeleteHello Debbie,
Deleteplease try this link (Italian), crotatting starts from page 59 on:
https://books.google.it/books?id=rTBDAQAAMAAJ&printsec=frontcover&hl=it#v=onepage&q=frivolezze%20all'uncinetto&f=false
That is a book from 1868 that was a translation from another French, there is the link in my "Resource" page in the menu
Hello Ninetta, greetings from South Africa, I just love your work and as for your little description of yourself justtoo good. I love your kind generosity. Thank you.
ReplyDeleteI did tatting many years ago and decided to try it again, but there is a lot to learn. I managed to teach myself after battling with help from a kind lady. The knot was being formed too quickly for me to see, so with the help of a book I got on with it. One thing I found testing was keeping the picot sizes regular. I since bought a set of needles and decided to paint different size lengths on the needles with a bright red nail varnish :●.... and it works as gauges for picots, but the needles are very different to the original working. So I really need a lot of help. Thank you for your patterns and tutoring, which are both very helpful.🥰💕
Thank you for your sweet comment 🥰
Delete